Coffee to Water Ratio: How to Measure the Perfect Cup Every Time
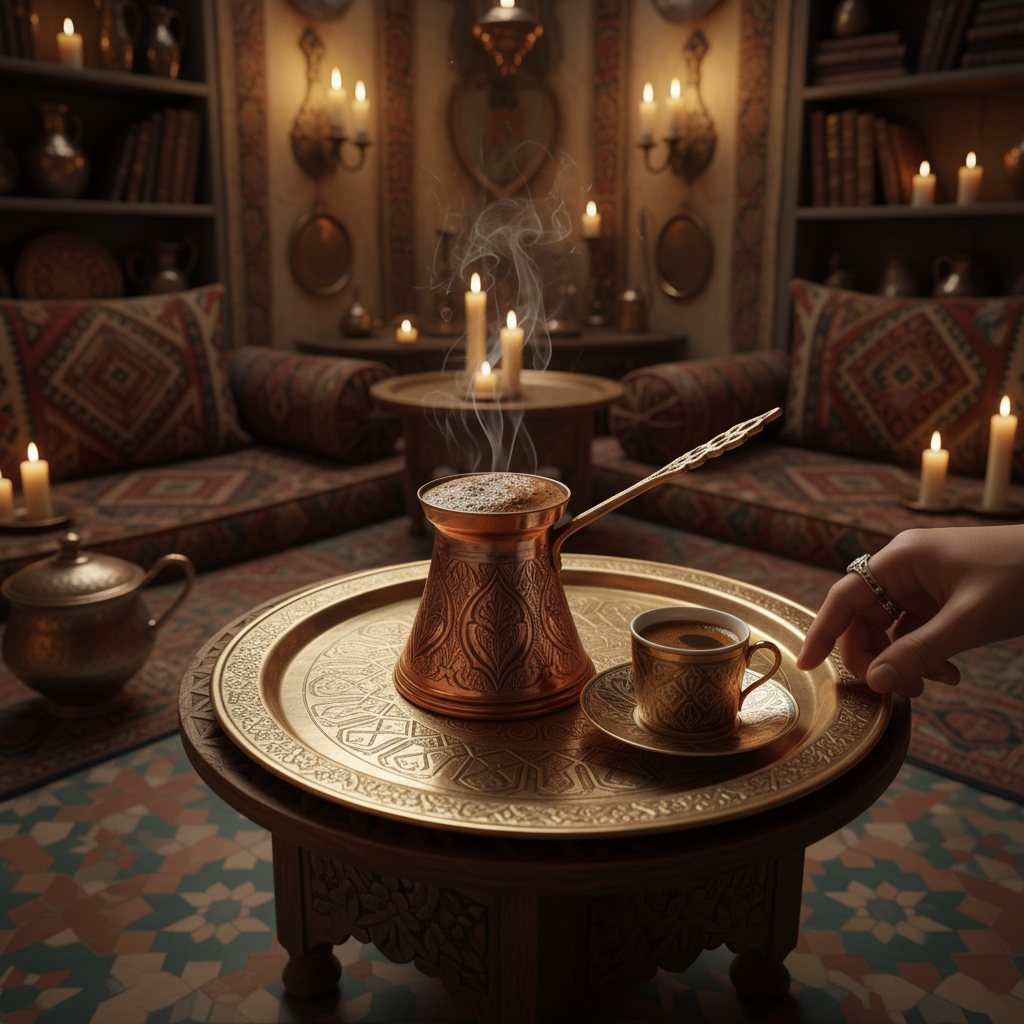
I’ll never forget my first morning in Kyoto, watching a barista at a tiny specialty cafe measure exactly 20 grams of coffee beans before brewing. He moved with the precision of a tea ceremony master. When I asked why he was so meticulous, he smiled and said, “The ratio is everything.”
He was right. After years of brewing coffee in hostels from Bangkok to Barcelona, I’ve learned that nailing your coffee to water ratio is the single most important factor in making consistently great coffee. It doesn’t matter if you’re using a fancy espresso machine or a simple French press—get the ratio wrong, and you’ll never unlock the full potential of those beans.
Whether you’re brewing in a van in New Zealand or your apartment in Brooklyn, understanding this fundamental brewing principle will transform your morning cup. Let me break down everything I’ve learned about measuring the perfect cup of coffee.
Why Coffee to Water Ratio Actually Matters
Before diving into numbers, let’s talk about why this matters. I’ve met too many travelers who buy incredible specialty coffee beans at local roasters, only to butcher them with random measurements. It’s like buying premium ingredients and then guessing the recipe.
The Science Behind Extraction
When hot water meets ground coffee, it extracts soluble compounds—oils, acids, sugars, and other flavor molecules. The goal is to hit that sweet spot of 18-22% extraction. This is where the magic happens.
Too much water flooding through your grounds? You’ll under-extract and get a sour, weak, disappointing cup. Too little water? Over-extraction brings harsh bitterness that makes you wince. The right coffee to water ratio hits that balanced middle ground where sweetness and complexity shine through.
How Ratios Affect Flavor
Think of it like this: your coffee grounds contain a universe of flavors. Some dissolve quickly (bright acids, fruity notes), while others take time (chocolatey sweetness, nutty richness). The ratio determines how much of that universe ends up in your cup.
I learned this the hard way in Costa Rica. I was staying at a coffee farm, and the farmer’s wife showed me two cups brewed from the same beans—one with too much water (thin and sour), one with too little (bitter and harsh). The third cup, made with proper measurements, was revelatory. Caramel sweetness, bright citrus, smooth body. Same beans, wildly different results.
Understanding the Golden Ratio: Your Starting Point
Every coffee journey needs a starting point. For brewing, that’s the golden ratio coffee standard.
What is the Golden Ratio?
The golden ratio is 1:18—that’s 1 gram of coffee for every 18 grams (or milliliters) of water. In practical terms, you’d use about 55 grams of coffee per liter of water. For a single serving, that’s roughly 10 grams of coffee to 180ml of water.
This isn’t some arbitrary number I made up in a hostel kitchen. It comes from the Specialty Coffee Association’s official brewing standards, developed through extensive research and tasting.
The SCA Standard Explained
The Specialty Coffee Association (SCA) established the Gold Cup Standard after years of sensory testing. They found that most people prefer coffee brewed at 1:18, achieving between 18-22% extraction and 1.15-1.35% total dissolved solids.
But here’s what I’ve observed in specialty cafes around the world: many actually use ratios between 1:15 and 1:17 in practice. Why? Customers tend to prefer slightly more body and intensity than the SCA standard provides. The golden ratio is your starting point, not a rigid law.
Your palate is the final judge. I usually brew my morning pour-over at 1:16 because I like a bit more punch to wake me up.
Coffee to Water Ratio by Brewing Method
Here’s where it gets interesting. Different brewing methods require different ratios because they extract coffee in fundamentally different ways. Immersion brewing (like French press) versus percolation (like pour-over) needs different approaches.
Pour Over (V60, Kalita, Chemex)
For pour-over techniques, I recommend 1:15 to 1:17. My sweet spot is usually 1:16. That means 20 grams of coffee to 320ml of water for a generous single serving.
Pour-over allows more control over extraction time and water flow, so you can afford a slightly tighter ratio without over-extracting. The paper filters also produce a cleaner cup that benefits from this intensity.
French Press
French press is all about body and texture, so go with 1:14 to 1:15. I typically use 30 grams of coarse-ground coffee to 450ml of water for my morning French press—enough to fill my favorite travel mug.
The full immersion method extracts more oils and sediment, creating that signature thick mouthfeel. The tighter ratio prevents it from becoming thin or weak.
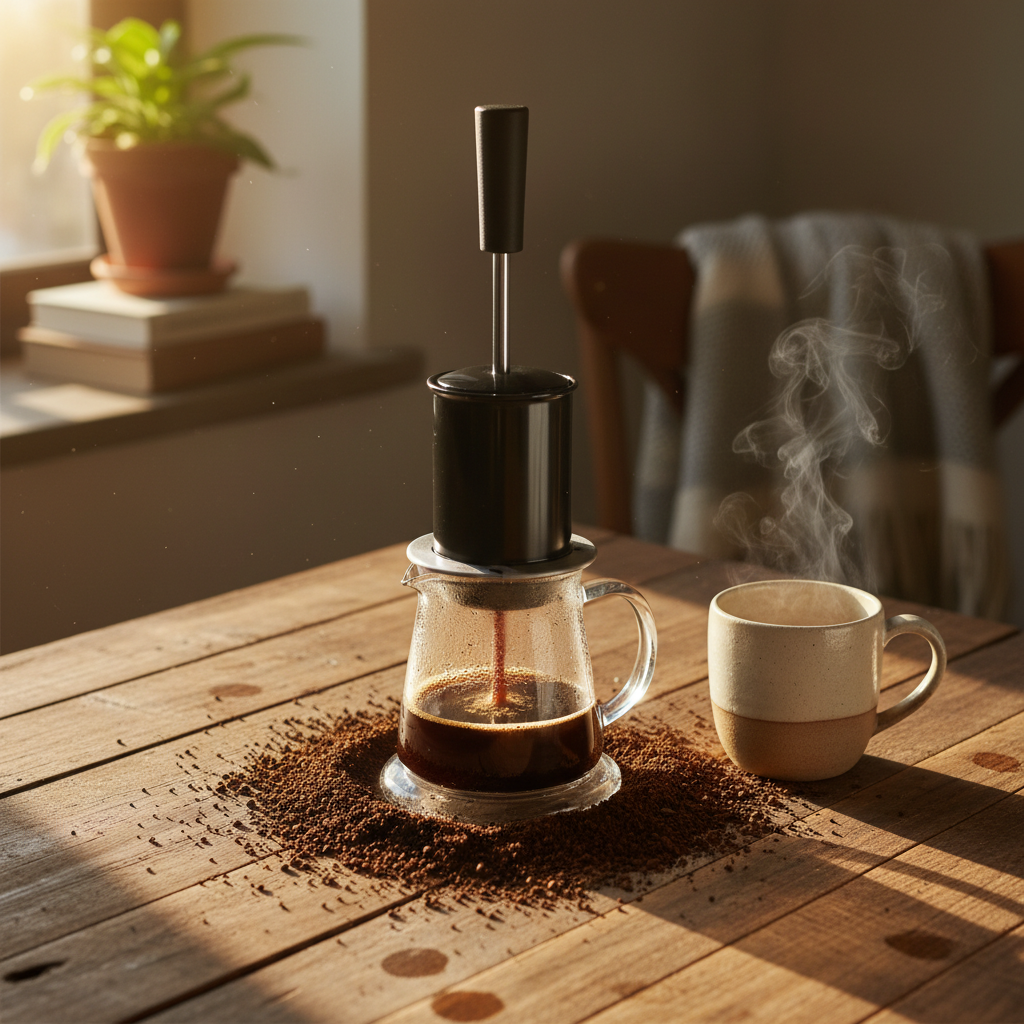
AeroPress
AeroPress is the most versatile brewer I’ve traveled with (seriously, it’s been to 23 countries with me). Ratios range from 1:10 to 1:16 depending on your recipe style.
For a concentrated “espresso-style” shot, use 1:10. For a regular cup, 1:15 works beautifully. I usually brew 15 grams of coffee with 225ml of water for a balanced morning cup.
Cold Brew
Cold brew is a completely different beast. For cold brew concentrate, use a tight 1:5 to 1:8 ratio. That means 100 grams of coarse coffee to 500ml of water, steeped for 12-24 hours.
For ready-to-drink cold brew, use 1:12 to 1:15 and brew it at drinking strength. I prefer making concentrate because it’s more storage-efficient when I’m traveling—just dilute with water or milk when ready to drink.
Drip Coffee Maker
Standard drip machines work best at 1:16 to 1:18. Most machines are calibrated expecting something close to this ratio, though manufacturers often recommend weaker coffee than specialty standards.
If your coffee maker has measurement markings, be aware: most define a “cup” as 5-6 ounces, not the standard 8-ounce cup. This trips up so many people.
Espresso (Brief Mention)
Espresso deserves its own article (and I have one on making espresso at home), but the quick version: espresso uses a 1:2 to 1:2.5 ratio. That’s 18 grams of coffee yielding 36-45 grams of liquid espresso in about 25-30 seconds.
It’s a completely different extraction method with pressure instead of gravity, so comparing espresso ratios to regular brewing is like comparing apples to oranges.
How to Measure Coffee and Water: Tools and Techniques
You’ve probably noticed I keep talking about grams of coffee instead of scoops or tablespoons. There’s a good reason for that.
Why a Scale is Non-Negotiable
If you take one thing from this article, let it be this: buy a digital scale. It’s the single best investment in your coffee game, period.
I’ve brewed coffee on every continent (except Antarctica—still working on that one). Whether I’m in a Tokyo studio or a campervan in Scotland, my little digital scale comes with me. It’s the difference between consistent, delicious coffee and the daily lottery of random measurements.
A decent coffee scale costs $15-30 and will last years. You need one that measures in 0.1-gram increments up to at least 2000 grams. Bonus points if it has a built-in timer for pour-over.
Measuring Without a Scale (When Necessary)
Look, I get it. Sometimes you’re at a friend’s cabin or a vacation rental without your gear. In those situations, here’s the rough conversion: 1 tablespoon of ground coffee ≈ 5 grams.
The traditional “2 tablespoons per 6-ounce cup” translates to about 10 grams for 180ml—which is actually pretty close to the golden ratio! But remember, this varies wildly based on grind size and how you scoop. Fine espresso grind packs tighter than coarse French press grind.
Use volume measurements as a last resort, not a regular practice.
Volume vs Weight: What You Need to Know
Water is easy—1 milliliter equals 1 gram, so measuring water by volume (using your brewer’s markings) works fine. But coffee? Coffee beans are irregular and compressible. A scoop of fine grind weighs more than a scoop of coarse grind.
Weight is absolute. 20 grams is always 20 grams, regardless of grind size, bean variety, or roast level. This is why serious coffee people (and the baristas who’ve taught me along the way) always weigh their coffee.
Also, make sure you’re using fresh beans—if you’re not sure how to maintain freshness, check out this guide on how to store coffee beans properly. Stale beans won’t give you good results no matter how perfect your ratio is.
Common Coffee Ratio Mistakes (and How to Fix Them)
I’ve made every mistake in the book—and watched countless others do the same. Let me save you some disappointing mornings.
Mistake 1: Eyeballing measurements
The fix is simple: get a scale. Seriously. I can’t stress this enough. Your taste buds will thank you.
Mistake 2: Using the same ratio for all methods
What works for pour-over won’t work for French press. Different extraction methods need different ratios. Refer to the method-specific ratios I outlined above and adjust accordingly.
Mistake 3: Not adjusting for grind size
Finer grinds extract faster and more thoroughly, so they actually need slightly less coffee (or a looser ratio) to avoid over-extraction. Coarser grinds need tighter ratios. If you’re grinding your own beans with a quality burr grinder, you’ll notice this relationship quickly.
Mistake 4: Measuring by volume instead of weight
Switch to grams. I know I sound like a broken record, but this is truly the foundation of consistency. Even if you do everything else right, volume measurements will sabotage your results.
Mistake 5: Following coffee maker cup markings blindly
Most coffee makers define a “cup” as 5 ounces, not 8 ounces. If you’re using their markings and wondering why your coffee is weak, that’s why. Ignore the markings and use actual measurements—grams and milliliters.
How to Dial In Your Perfect Ratio
Now comes the fun part: finding your perfect ratio. The golden ratio is a starting point, but your ideal might be different based on your beans, your taste preferences, and even your mood.
The Tasting Method
Start with the standard ratio for your brewing method. Brew one cup and taste it critically. Is it too weak? Too bitter? Too sour? This sensory feedback tells you everything.
If your coffee tastes weak or sour: Add more coffee (tighter ratio) or grind slightly finer. Under-extraction is usually the culprit—you need more extraction power.
If your coffee tastes too strong or bitter: Use less coffee (looser ratio) or grind slightly coarser. Over-extraction is making those harsh compounds dominate.
Make one change at a time. If you change the ratio AND the grind size AND the water temperature, you won’t know which adjustment actually helped.
Keeping a Brew Journal
This might sound obsessive, but it works. I keep a simple note on my phone for new beans or brewing experiments. Document:
- Coffee name and roast date
- Ratio used (e.g., 20g coffee:320ml water = 1:16)
- Grind setting
- Brew time
- Taste notes and what you’d adjust
After a week, patterns emerge. You’ll notice that certain single-origin coffees might prefer slightly different ratios. Ethiopian naturals might shine at 1:15, while Brazilian coffees prefer 1:17. Your journal captures that knowledge.
When to Adjust Other Variables
Sometimes the ratio isn’t the problem. If you’ve dialed in your measurements but the coffee still isn’t quite right, look at:
- Grind size: The most common culprit after ratio
- Water temperature: 195-205°F (90-96°C) is standard, but lighter roasts often want hotter water
- Brew time: Longer extraction pulls out more (potentially bitter) compounds
- Water quality: Tap water with chlorine or heavy minerals can ruin good coffee
But always start with ratio. Get that foundation right before tweaking the details.
Quick Reference: Coffee to Water Ratios Cheat Sheet
Here’s everything in one place for easy reference. I keep a version of this taped inside my coffee cabinet for those groggy 6 AM moments when math feels impossible.
| Brewing Method | Ratio | Example (20g coffee) | Example (30g coffee) |
|---|---|---|---|
| Pour Over | 1:16 | 20g : 320ml | 30g : 480ml |
| French Press | 1:15 | 20g : 300ml | 30g : 450ml |
| AeroPress | 1:12 | 20g : 240ml | 30g : 360ml |
| Cold Brew (concentrate) | 1:5 | 100g : 500ml | 150g : 750ml |
| Drip Coffee Maker | 1:17 | 20g : 340ml | 30g : 510ml |
| Golden Ratio (baseline) | 1:18 | 20g : 360ml | 30g : 540ml |
Print this out, screenshot it, or just bookmark this page. Having these ratios handy takes the guesswork out of brewing, especially when you’re trying a new method.
Your Next Step to Better Coffee
Here’s the beautiful thing about nailing your coffee to water ratio: it’s immediately noticeable. Tomorrow morning, weigh your coffee and water properly, and you’ll taste the difference. It’s that simple and that profound.
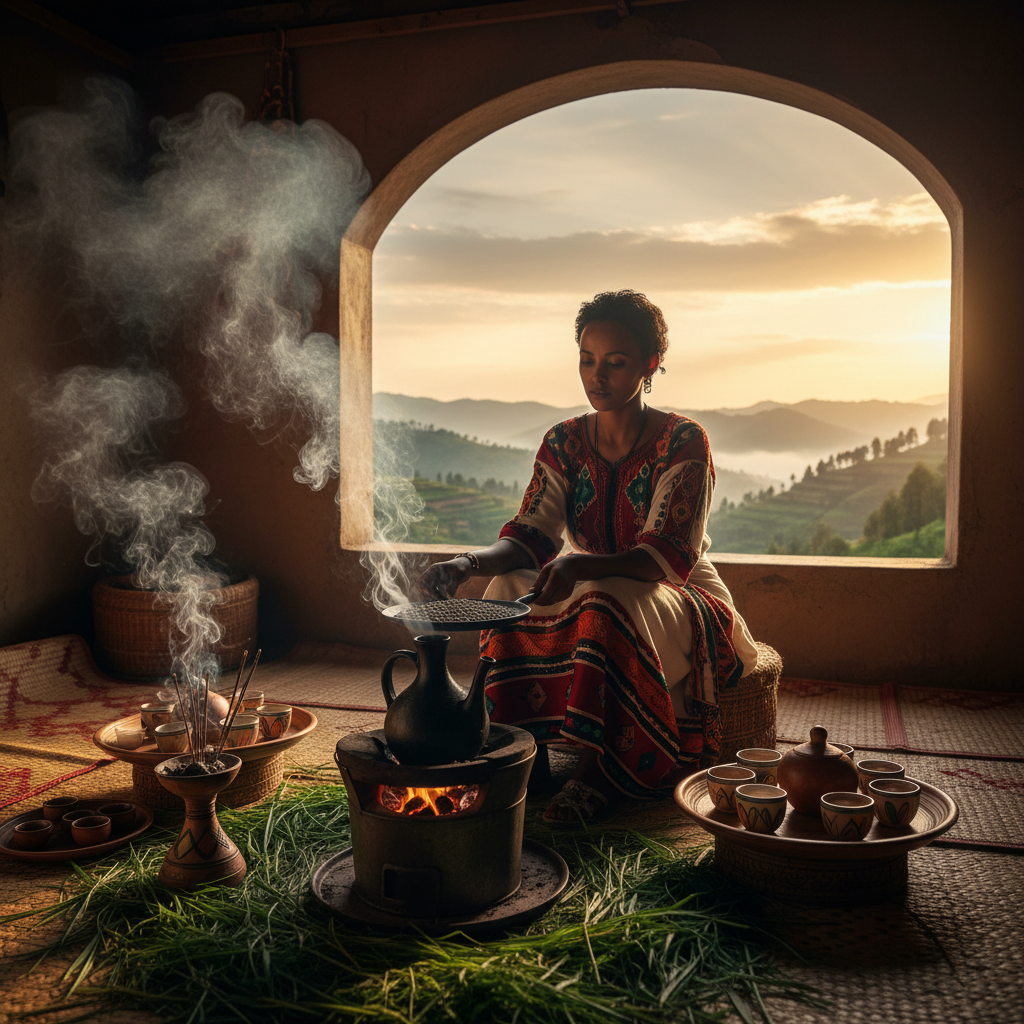
I’ve brewed coffee on rooftops in Marrakech, in hostels in Reykjavik, and in tiny apartments in Melbourne. The equipment changed, the beans changed, the water changed—but the principle stayed constant. Proper measurements unlock great coffee, no matter where you are.
Start with the golden ratio. Use a scale. Adjust based on taste. Keep notes. Be patient with the process. Your perfect cup is out there, and now you have the tools to find it consistently, every single morning.
Once you’ve mastered your ratios, you might want to explore more advanced techniques in Counter Culture Coffee’s brewing basics or check out Fellow’s guide to the golden ratio for equipment-specific tips.
Now if you’ll excuse me, I have 18 grams of Ethiopian Yirgacheffe calling my name, and exactly 288ml of water at 96°C waiting to meet them. Happy brewing, friends.